Audit Data - Akto Atlas
Overview
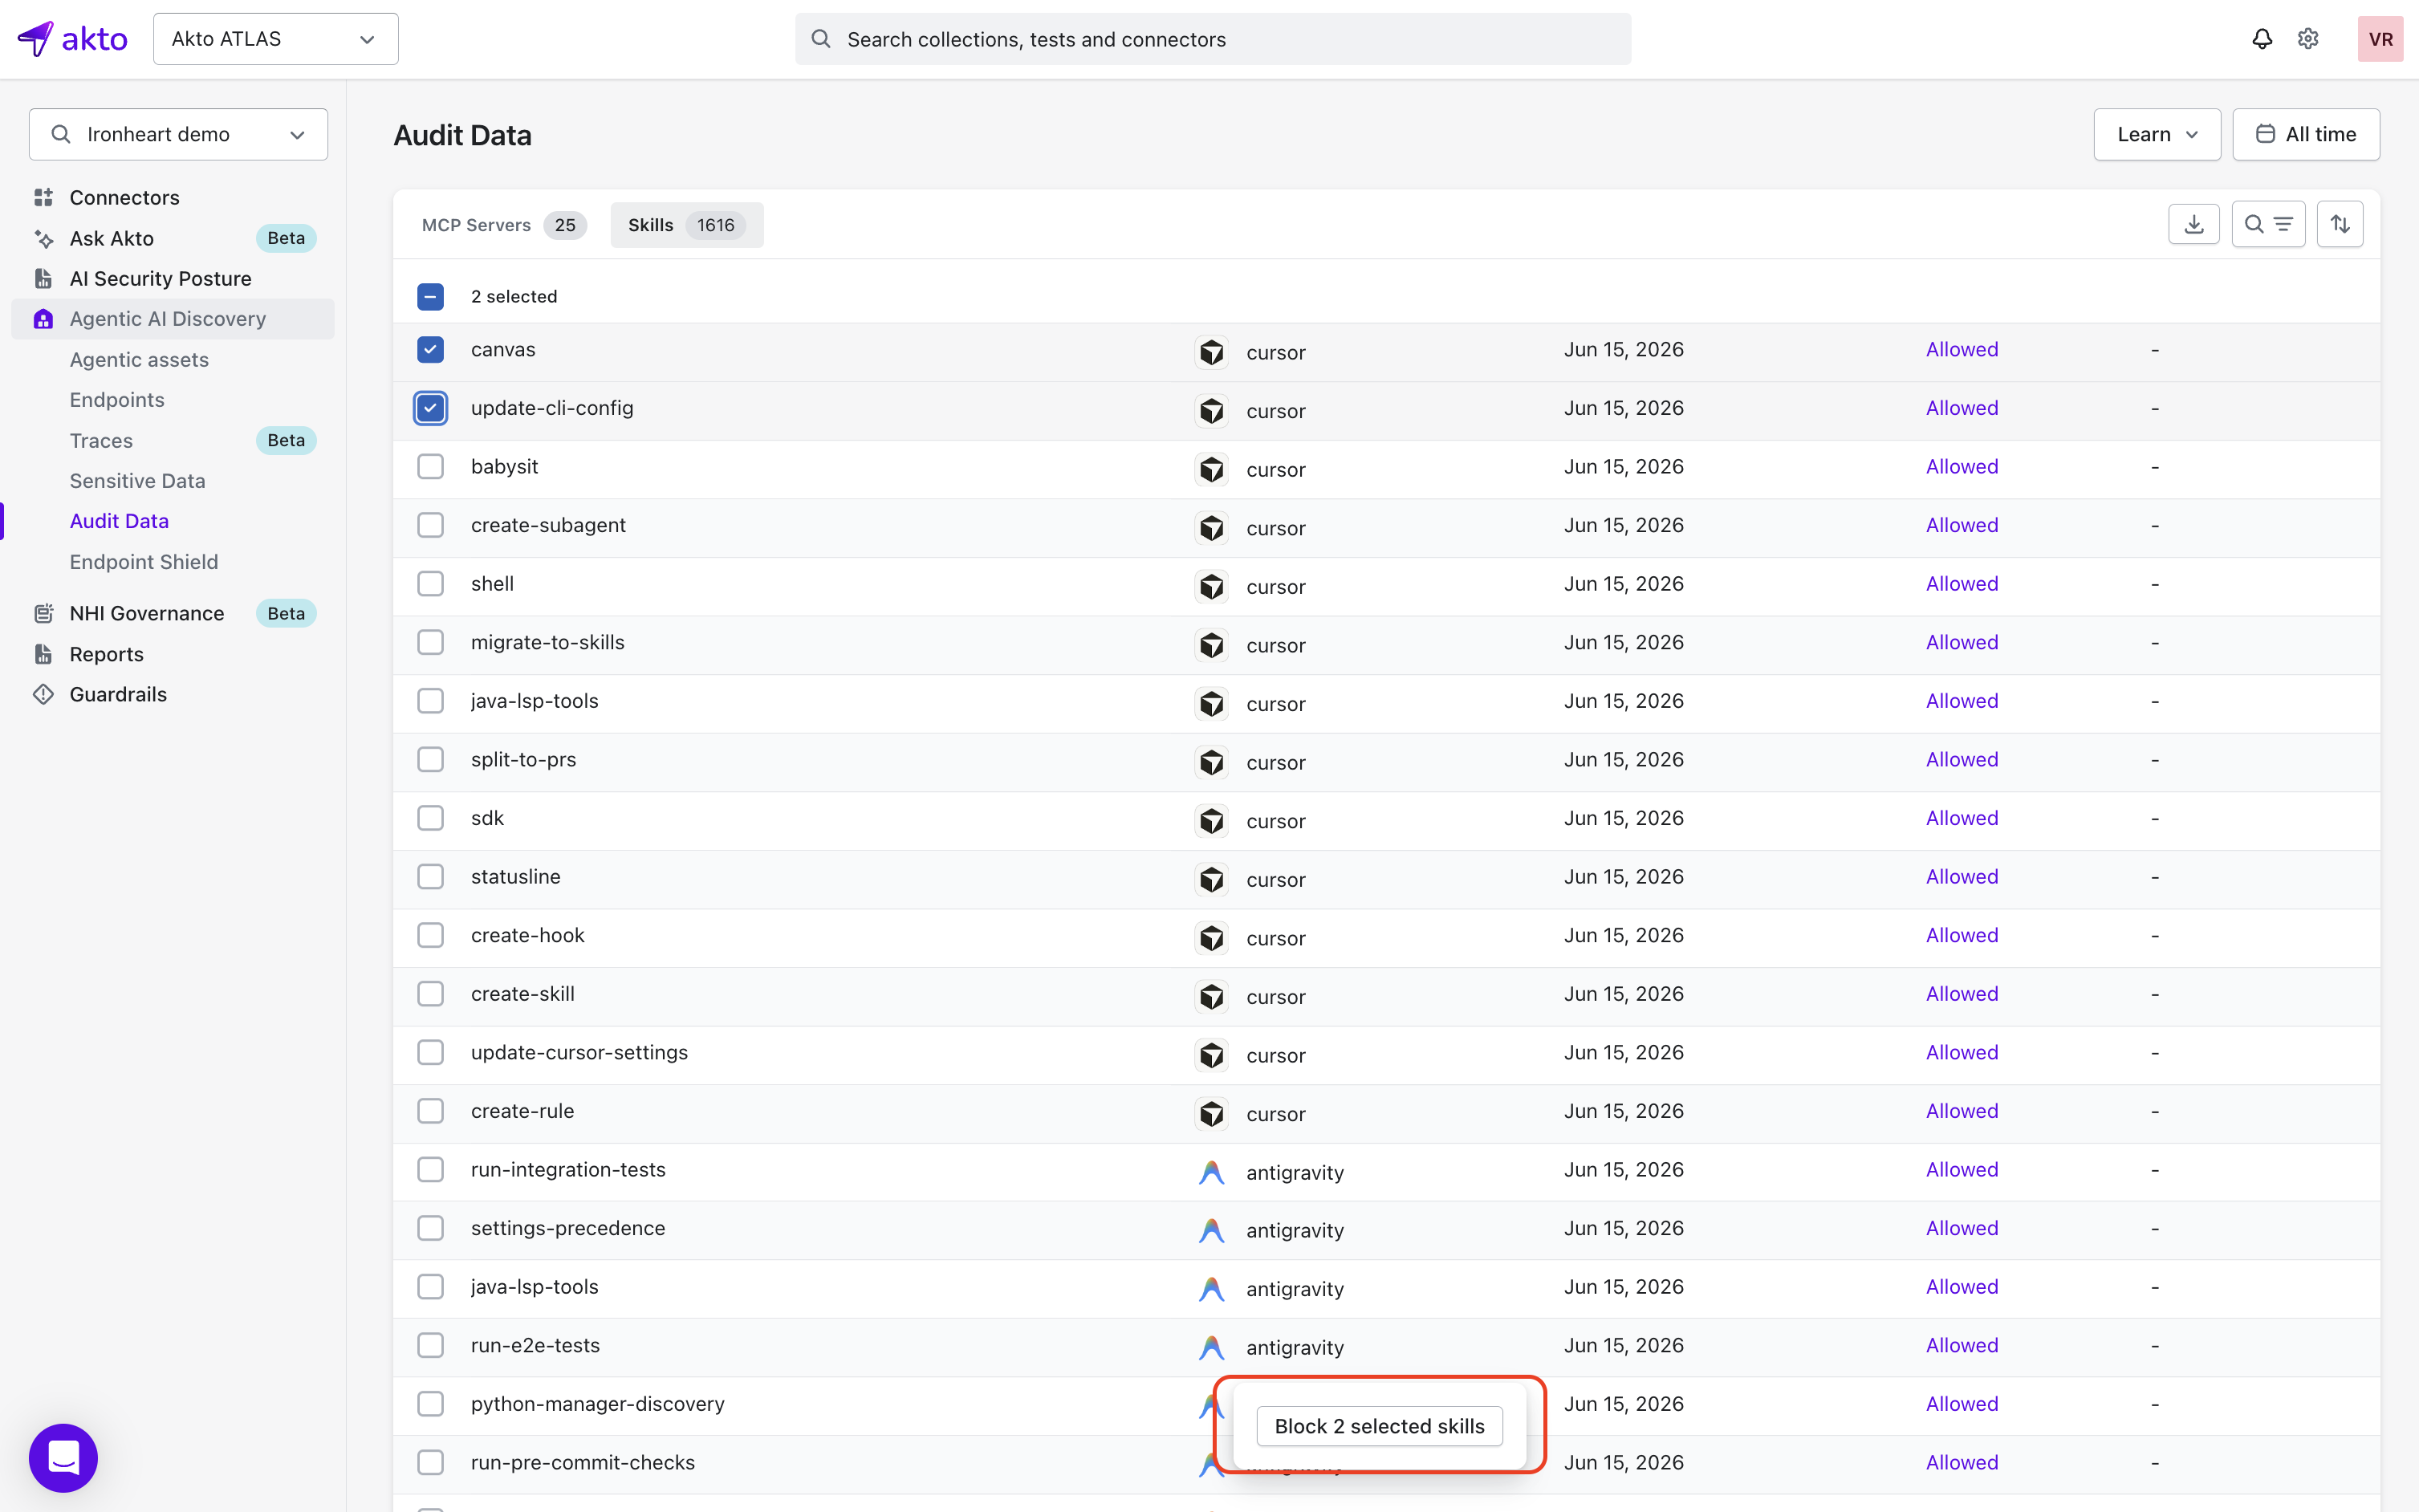
The Audit Data page in Akto Atlas shows you all MCP servers your employee's agents interact with and lets you control how those servers and their capabilities are used.
From here, you can:
See which MCP servers are being accessed
Inspect the tools, resources, and prompts exposed by each server
Approve, block, or conditionally allow access
Explore Audit Data
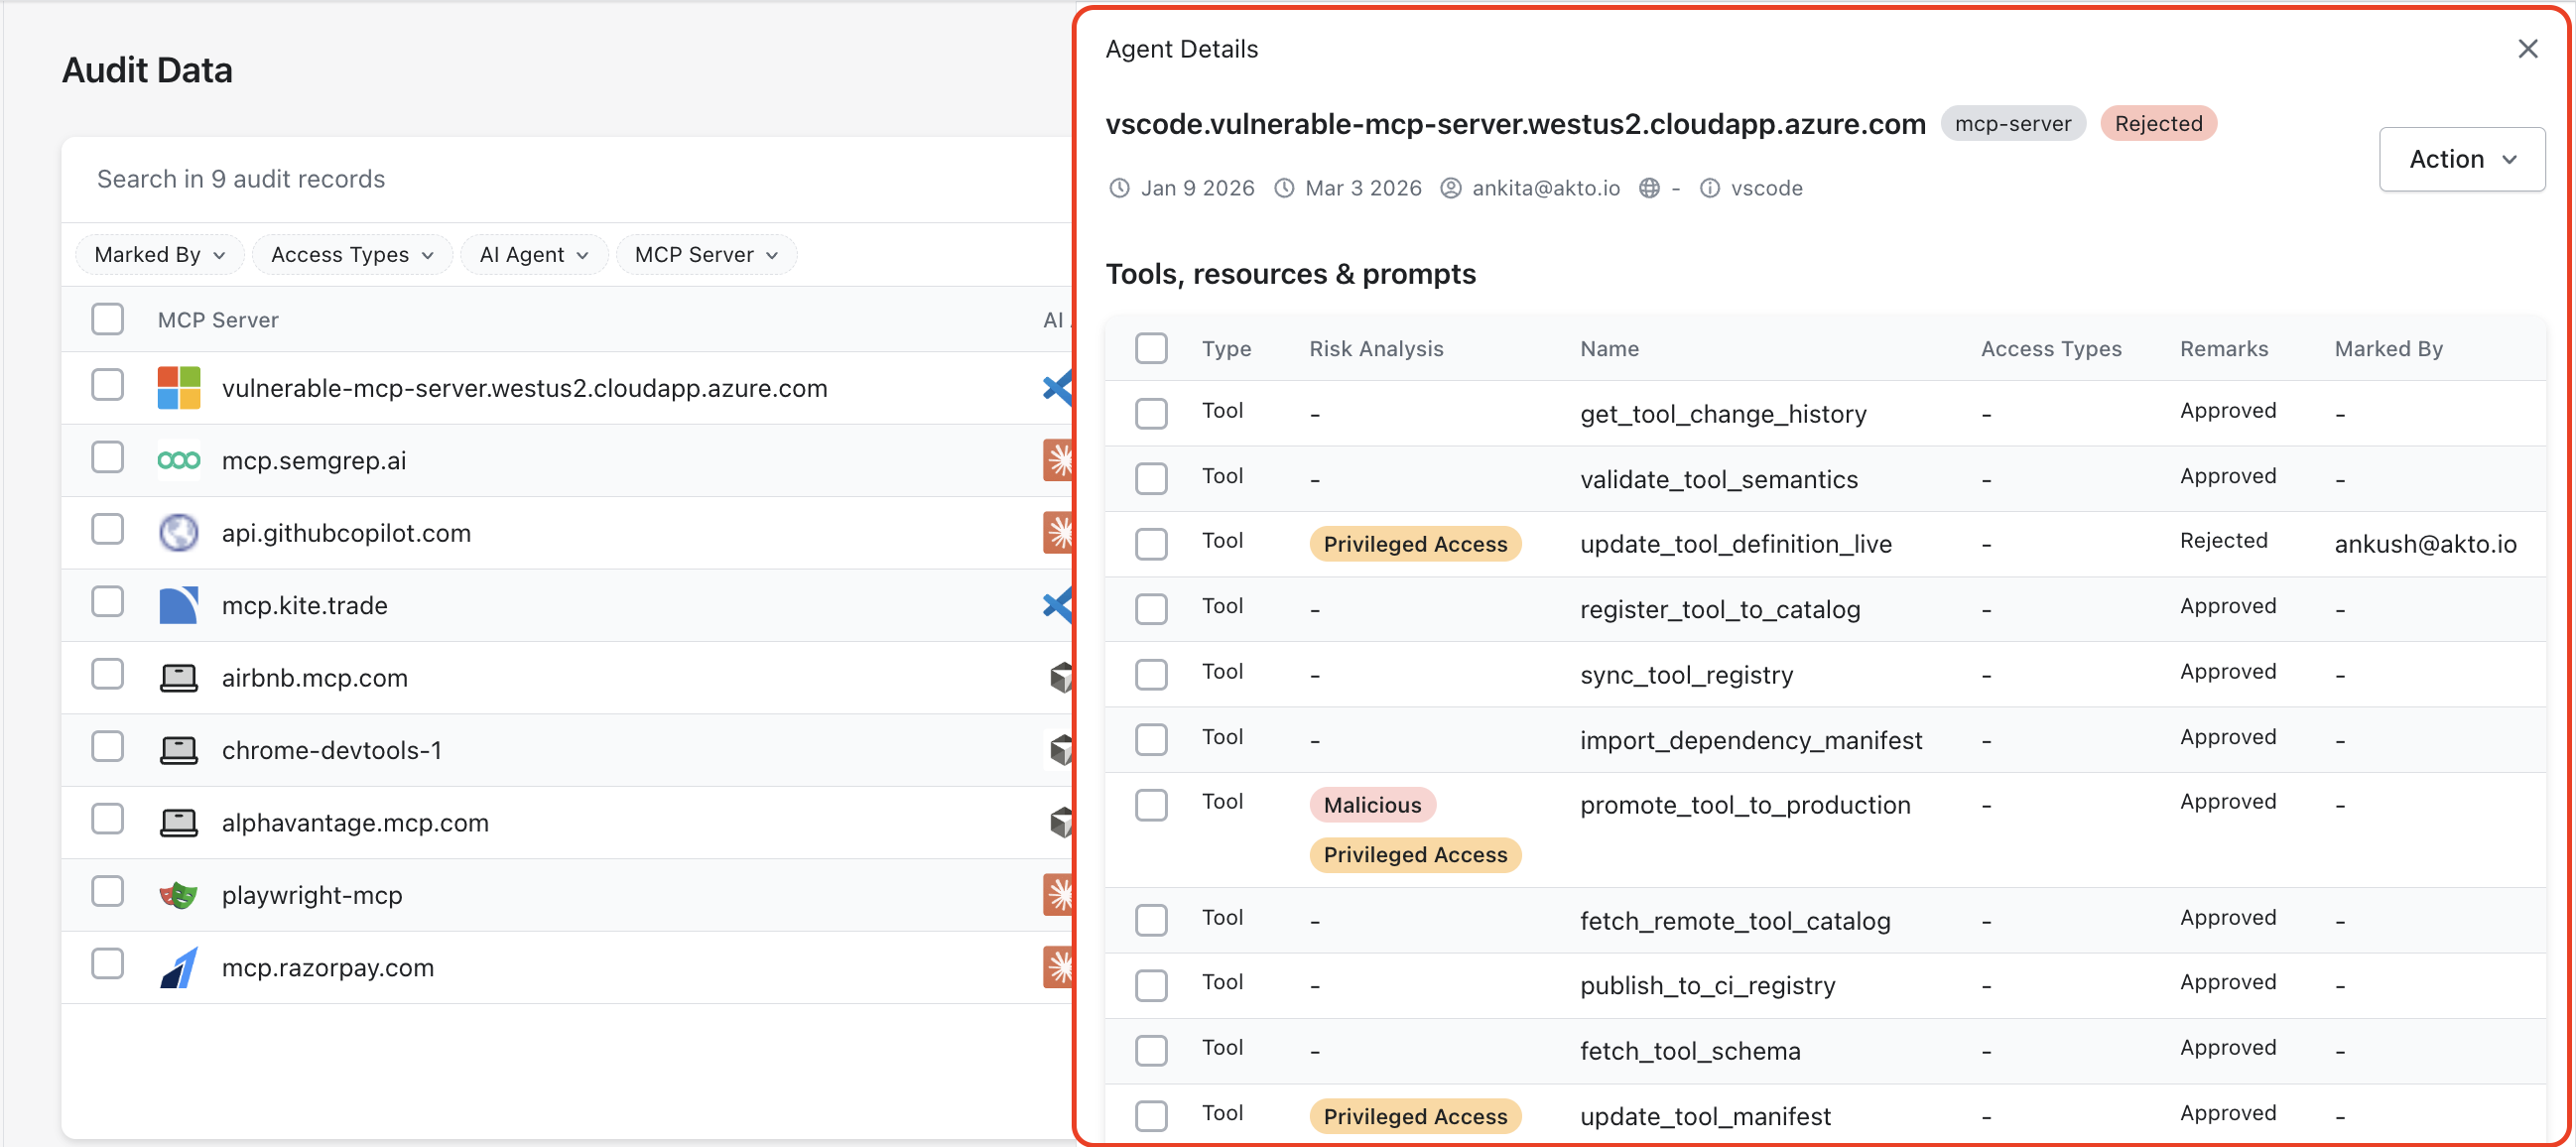
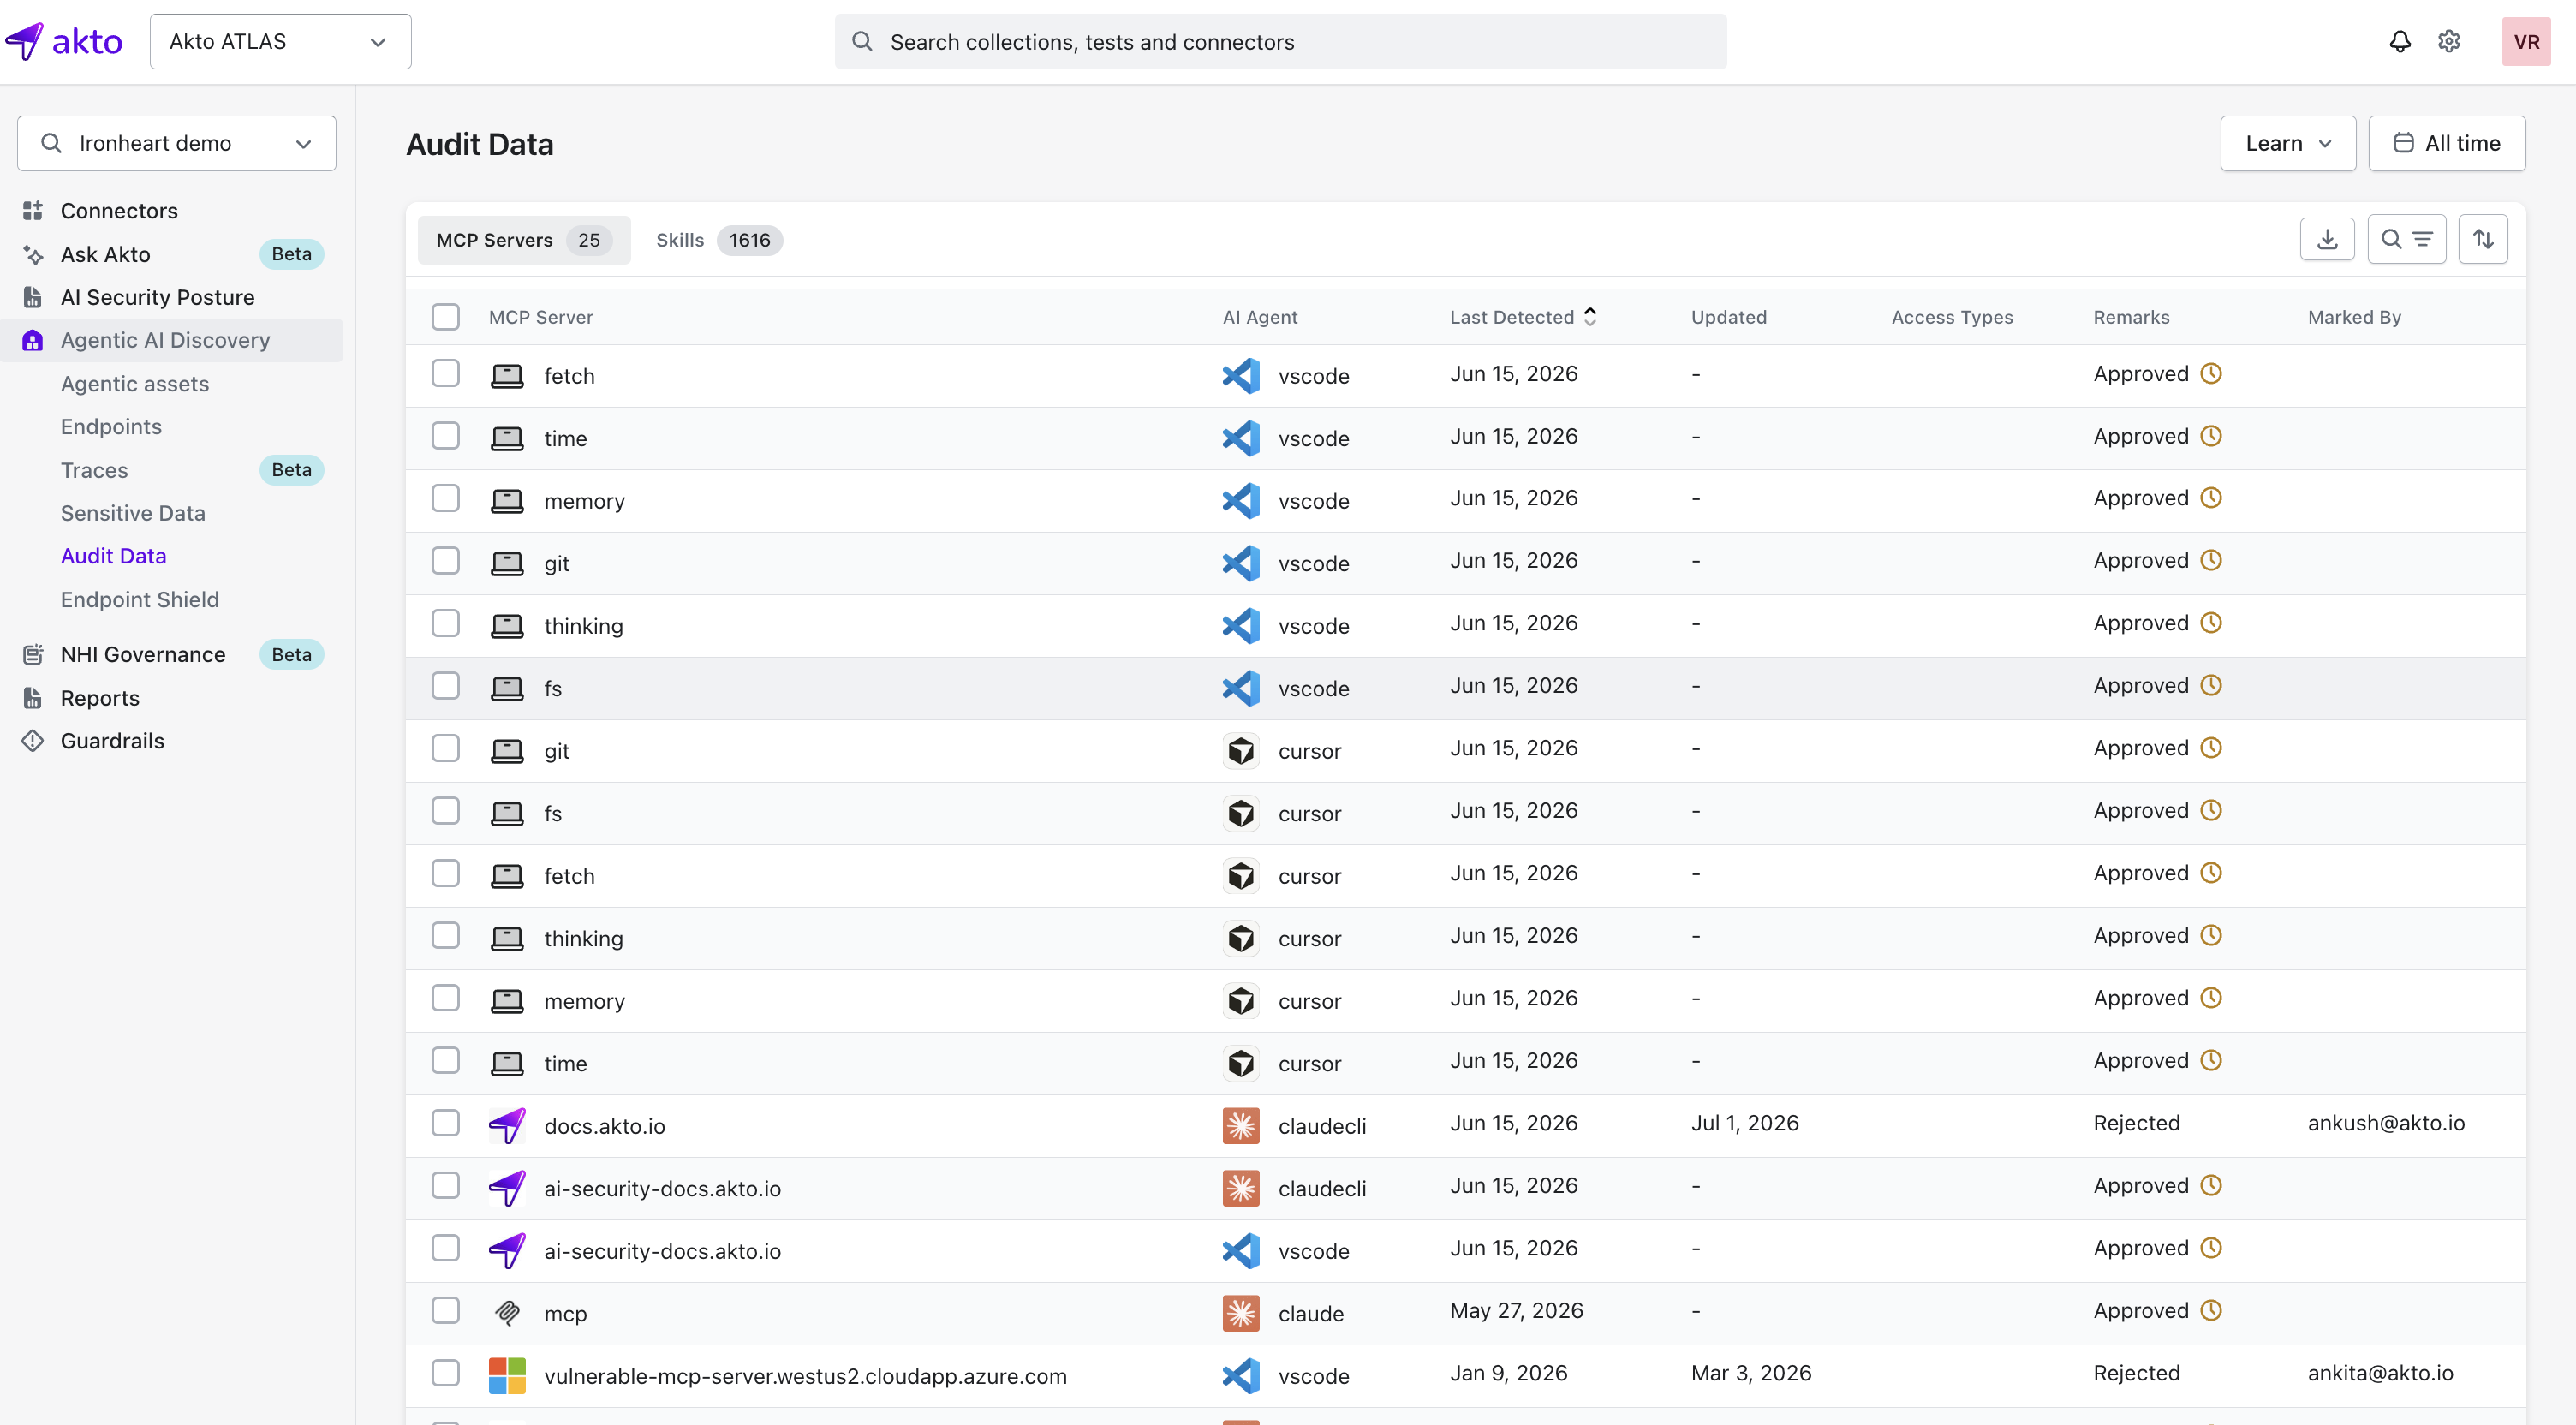
The main page gives you a server-level view of activity in Akto Atlas. Each row represents an MCP server and the agent that access it.

You will see:
MCP Server
The MCP server (domain or endpoint) being accessed
AI Agent
The agent accessing the server (e.g. VSCode, Claude, Cursor)
Last Detected
When the server was first observed in Atlas
Updated
Most recent activity for this server
Access Type
Type of access (e.g. public, private, third-party)
Remarks
Current decision: Approved, Rejected, or Conditionally Allowed
Marked By
Who last updated the decision
View Server Details
Click on any MCP server to view its details, including all tools, resources, and prompts it exposes.

Capabilities
Each MCP server exposes capabilities used by agents. For each capability, you can see:
Type
Whether it's a Tool, Resource, or Prompt
Risk Analysis
Any risk signals like Privileged Access or Malicious
Name
The identifier of the capability
Access Types
Whether the capability is public, private, or third-party
Remarks
Whether it's Approved, Rejected, or Conditionally Allowed
Marked By
Who made the decision
Access Control Options
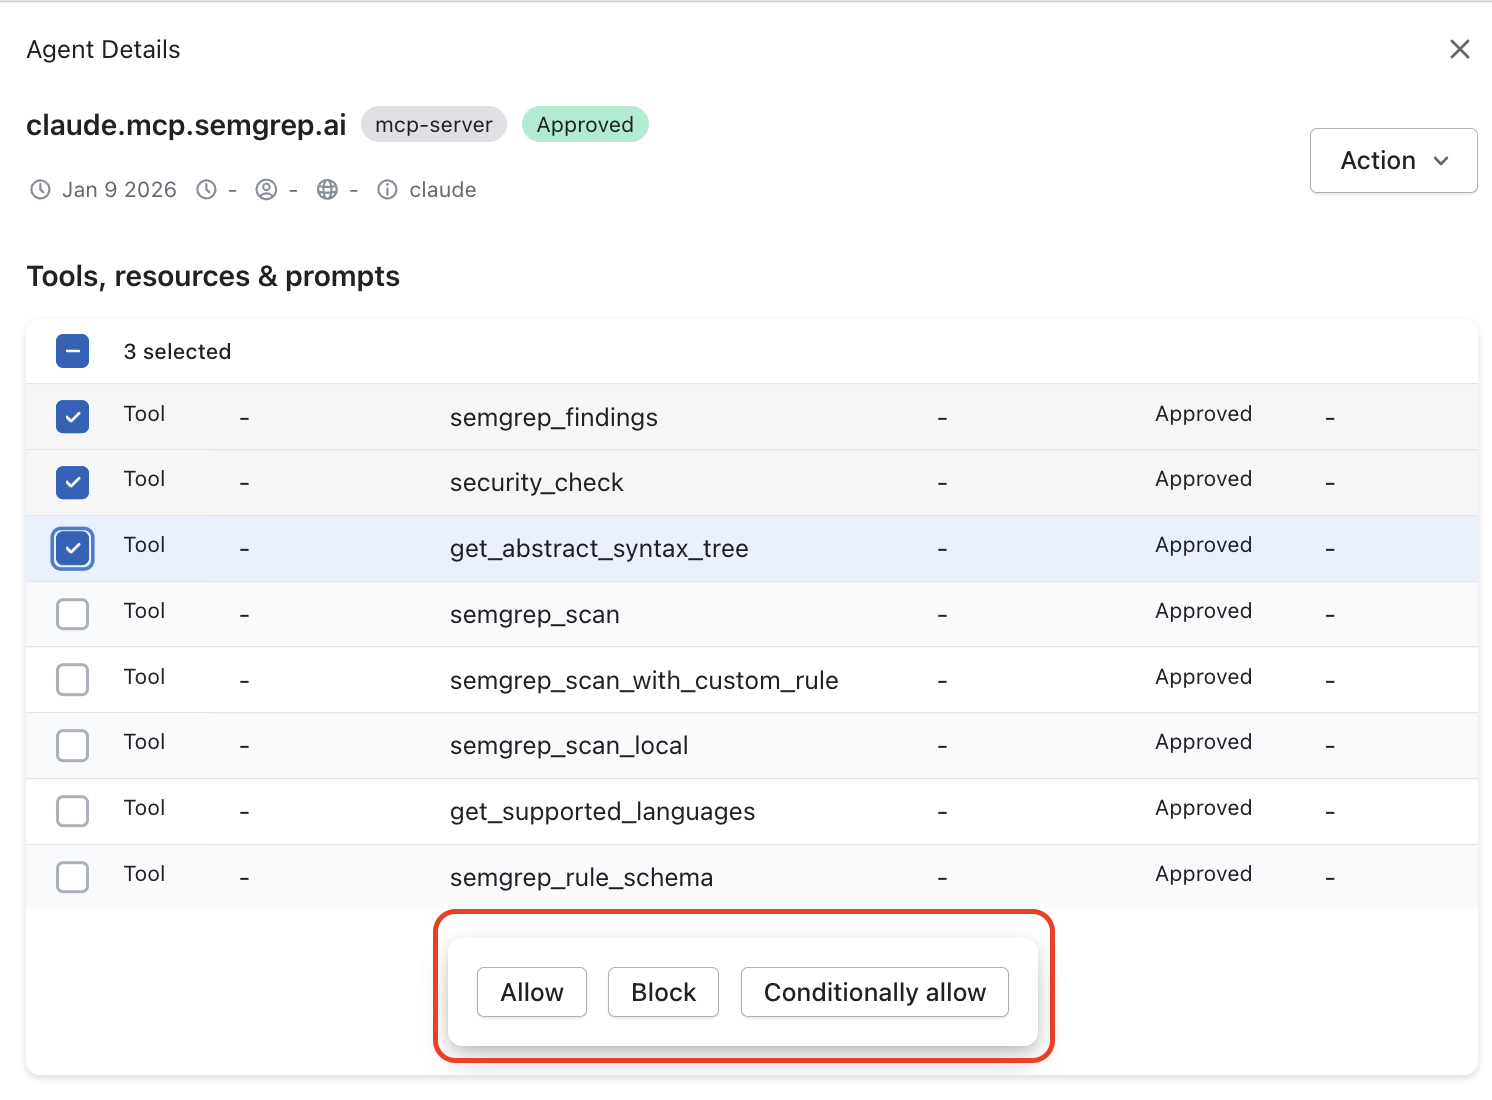
You can set access decisions at both the server level (via the Action dropdown) and the individual tool level. Use the following options:

Allow
Grant full access to the MCP server or specific tool. The agent can use all capabilities without restrictions.
Block
Deny access entirely. The agent cannot interact with this server or tool.
Setting Conditional Approval
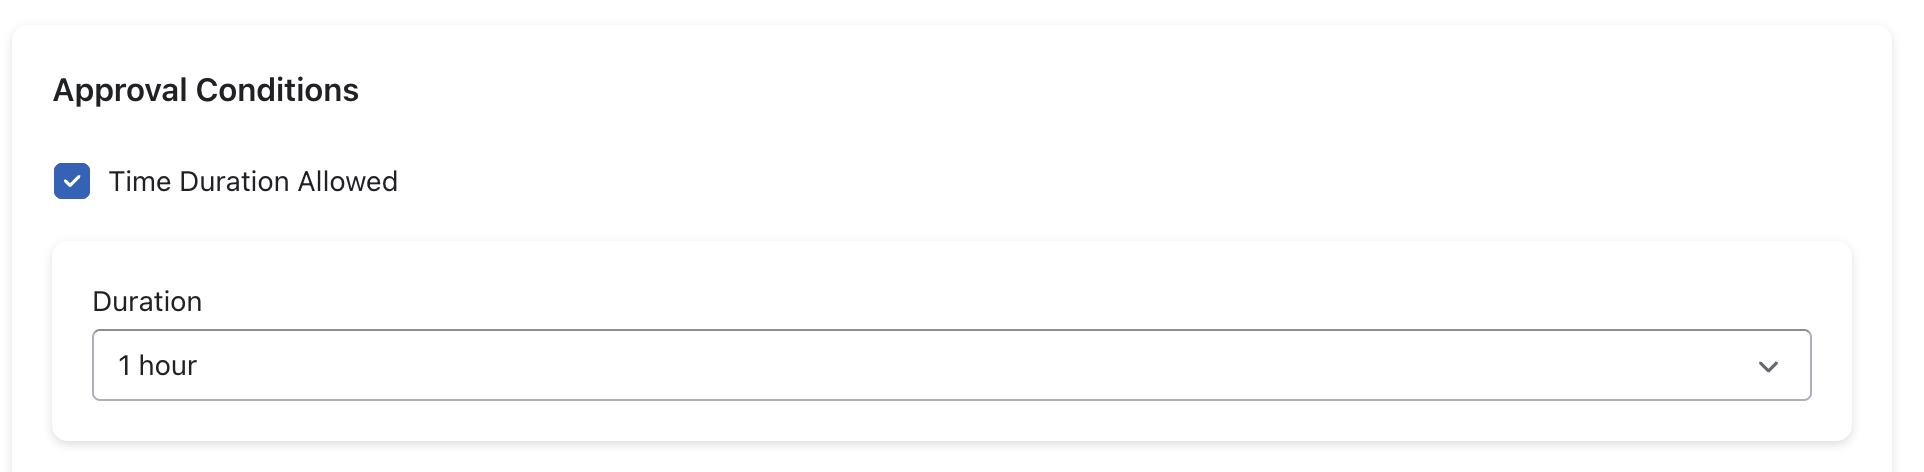
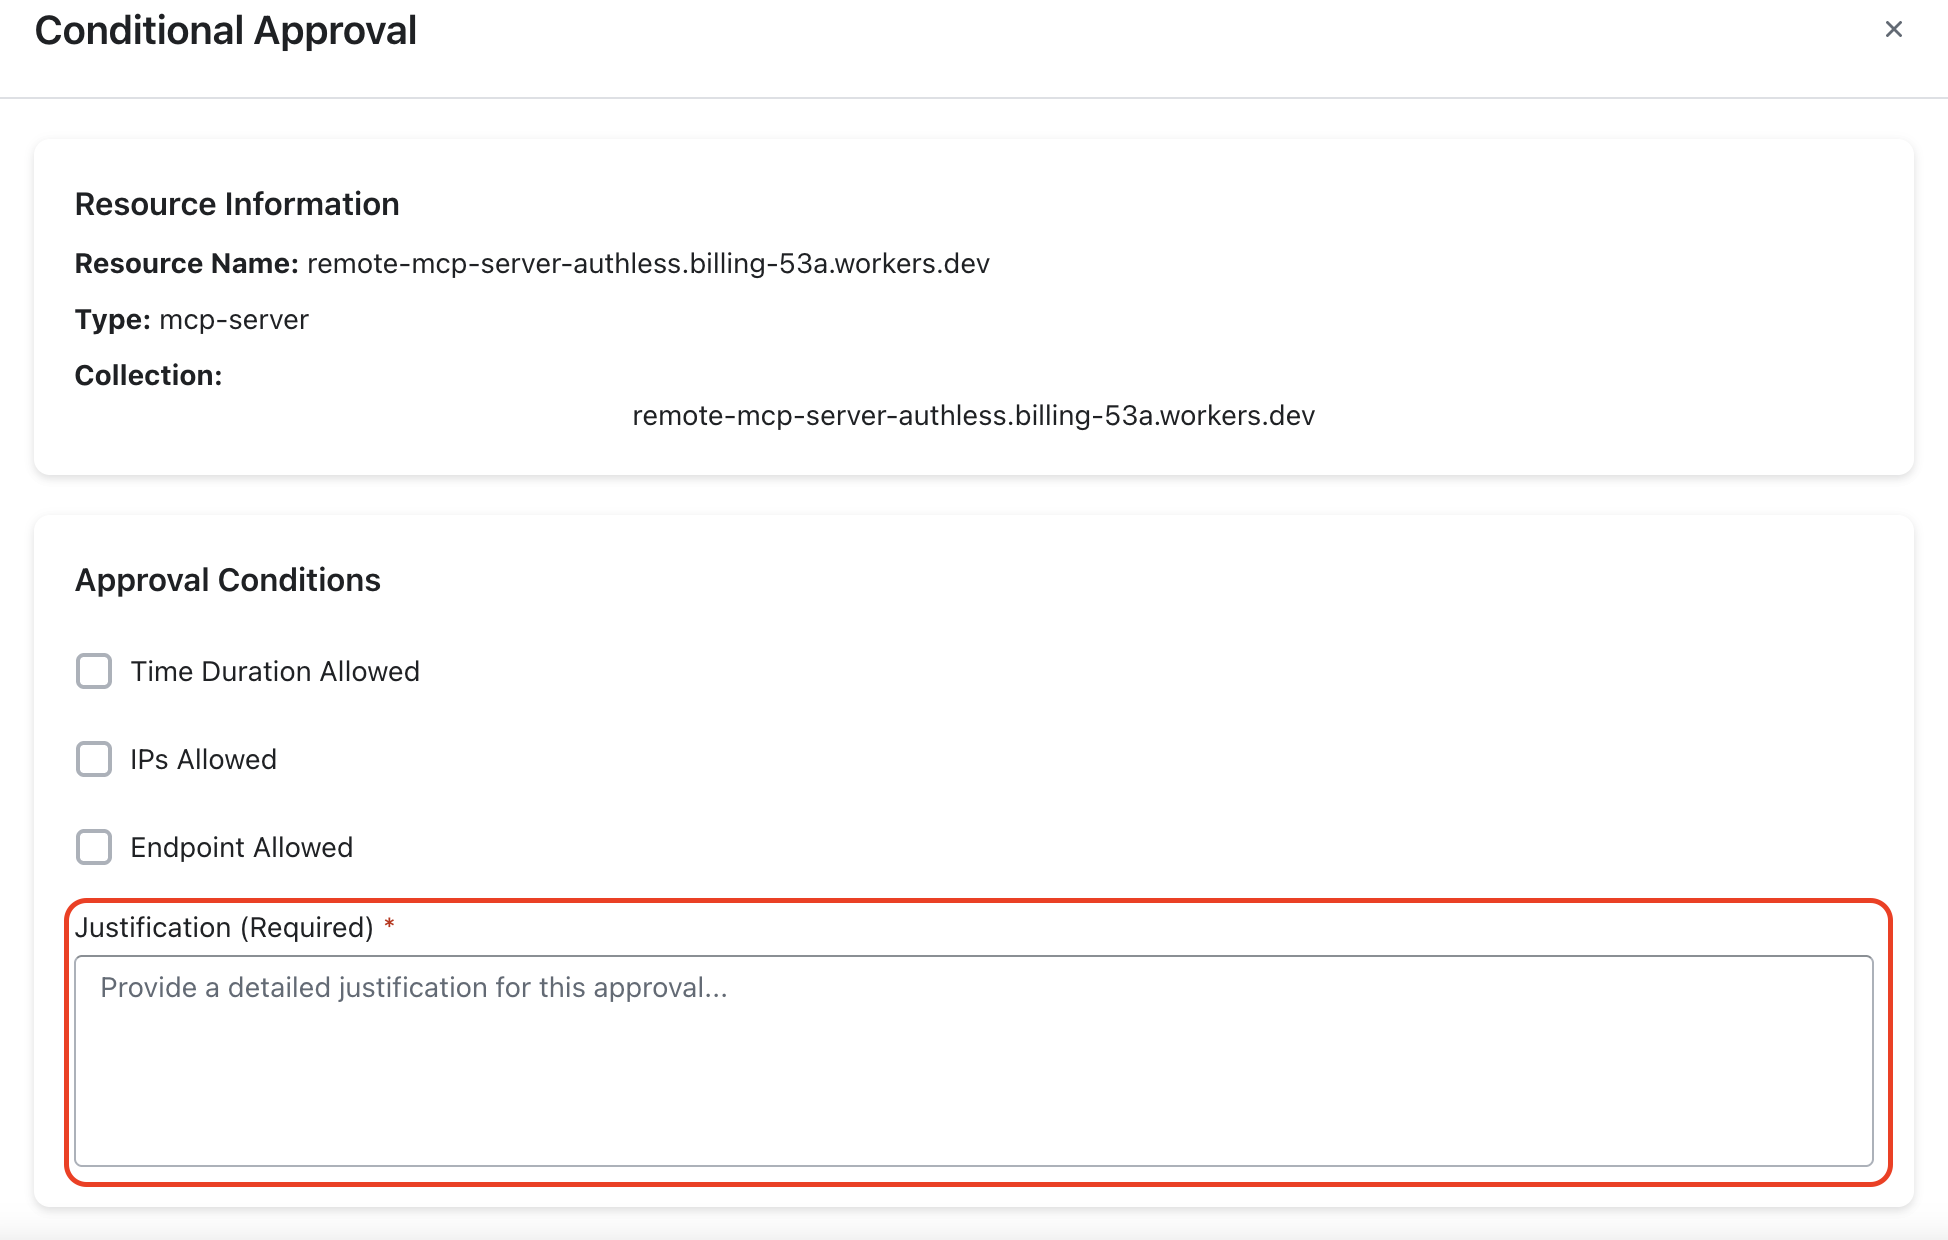
If you choose Conditionally Allow, you can set clear boundaries for how the component is allowed to operate. The following components can be set:
You define how long the component can remain active. Once the duration expires, Akto automatically blocks it.

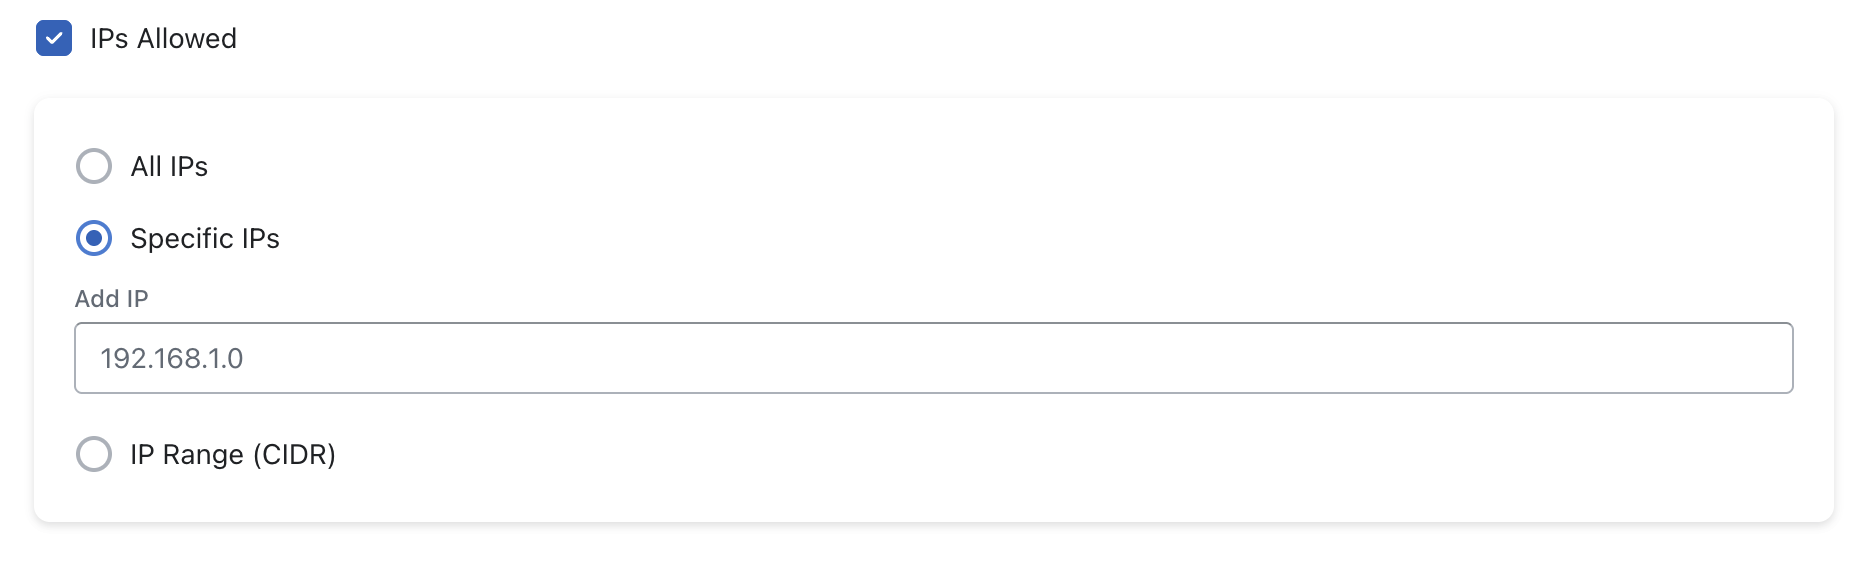
You control where the component can be used from. You can allow:
All IPs
Specific IPs
An IP range (CIDR)

You choose which endpoints the component can access.

You add a mandatory justification so your team understands why you approved the component with conditions.

After configuring everything, click Approve with Conditions to enforce the restricted access.
Action Dropdown
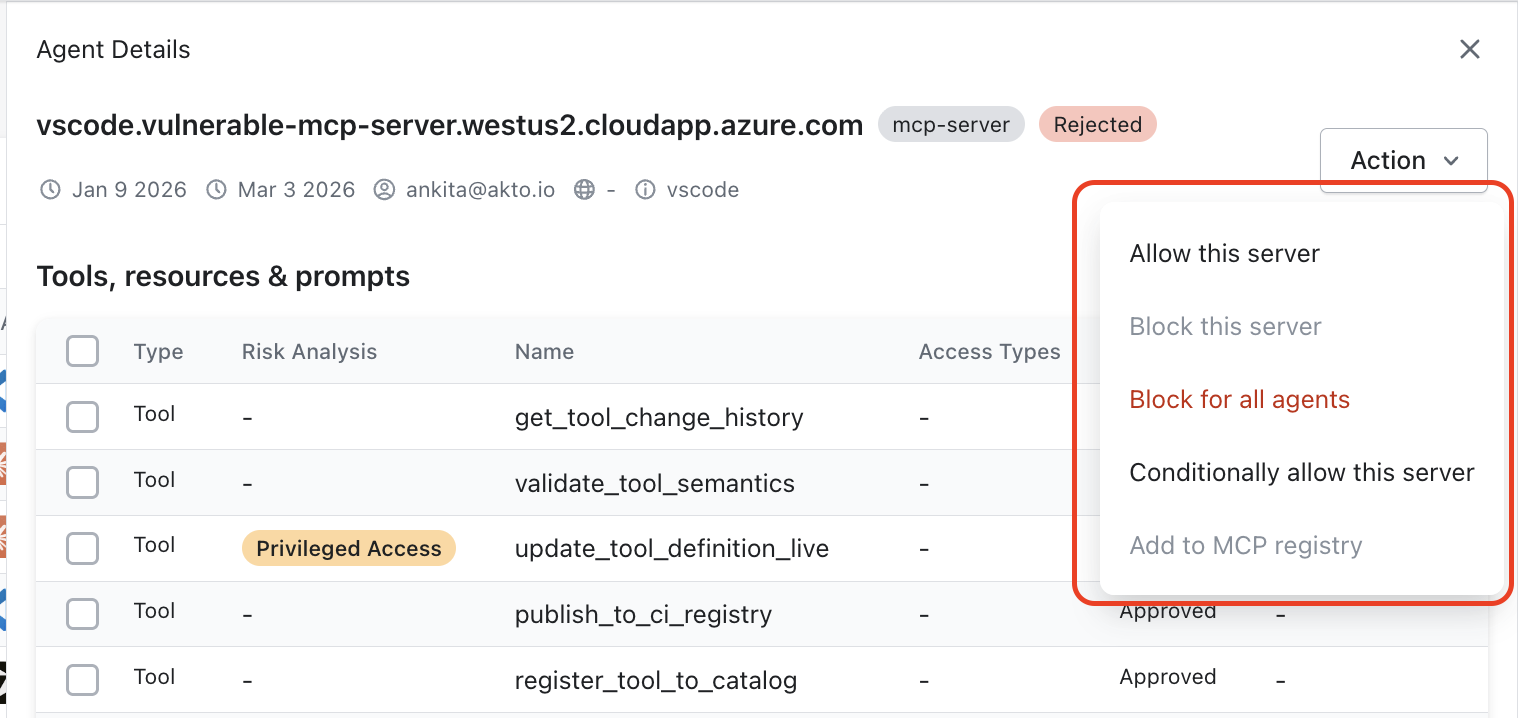
From the Action dropdown at the top of the server details view, you can make server-level decisions:
Allow this server – Grant full access to all capabilities
Block this server – Deny all access immediately for the particular AI Agent
Block for all agents – Block this server across all agents in your organisation
Conditionally allow this server – Grant access with defined restrictions
Add to MCP registry – Register the server in your organisation's MCP registry

To use Add to MCP registry, you must first set up an MCP registry integration.
Go to Settings → Integrations → MCP Registry to configure one.
Last updated